Generally, you should avoid doing this unless you absolutely need to. All ZOIAs are calibrated during production.
To recalibrate the colours on ZOIA's button grid, you'll need to have installed firmware 1.13 or later.
Instructions below:
Calibrating the LED Grid on your ZOIA
Underneath each button on the ZOIA, there is a red, green, and blue LED. The pedal combines different amounts of these LEDs to display the range of colours that make your patches pop! When the 3 LEDs are set to the same brightness, the resulting colour should be white. But sometimes there are slight differences between the individual LEDs for each button, or they appear dim, which can make your white grid look not quite right. It might look like a few buttons are greener than the others, or maybe the entire grid will look more pink than white. This guide will show you how to adjust the grid so the colour of all buttons is consistent.
While powering on your ZOIA, hold down the left stomp switch for 20 seconds or so. You should see the following screen, letting you know you’ve entered calibration mode.

For now, press the right stomp switch to continue. (The second option will be explained later in step 10)
Next the grid will light up and you’ll see some instructions on the screen.
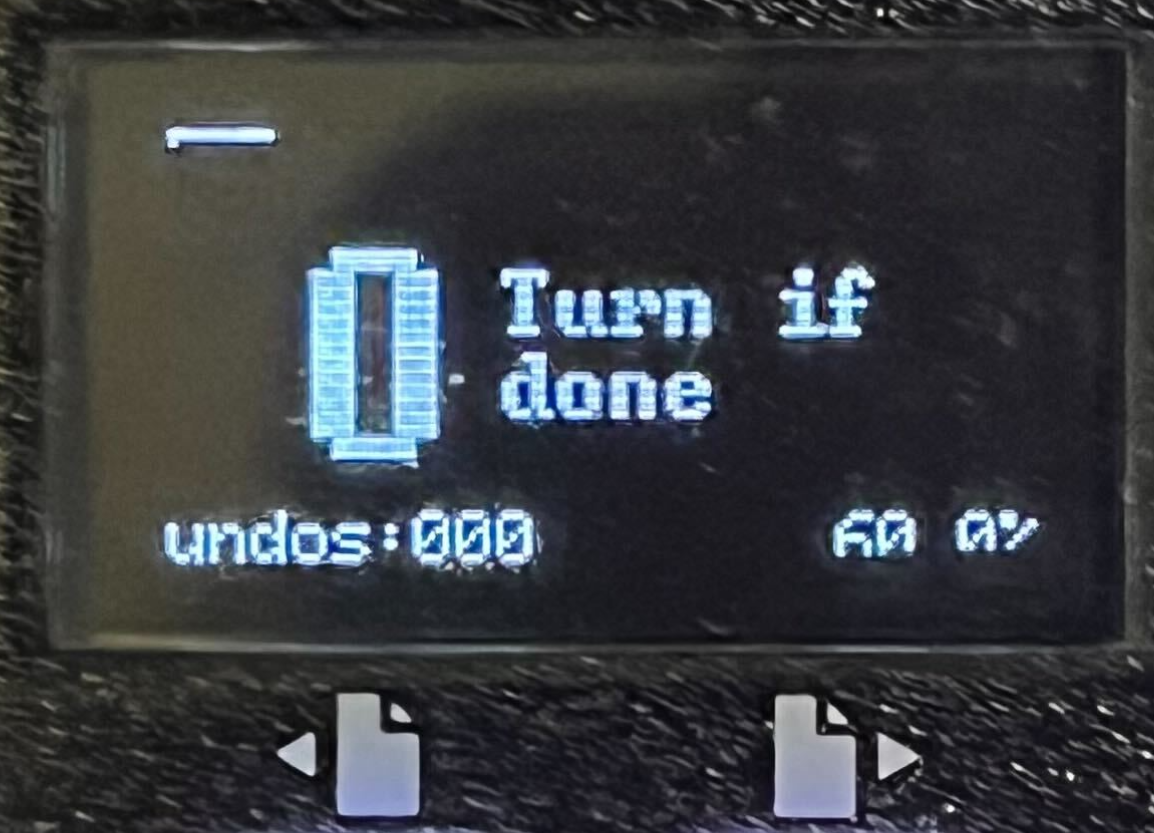
Because you are not done, press the encoder to move to the next step of the calibration process.
If all of the buttons are more or less the same colour, you can treat them as a group and move onto step 6. If the button colours are very different from one another, you'll need to treat them as separate groups. I find it helpful to try to get them all to the same colour before trying to make them white. So break into groups by pressing on similarly coloured buttons, go to step 6, and then come back to this step to treat the next group of buttons. Pressing buttons creates a group, and turning the encoder deletes the grouping and treats them all as one group again. When you are done selecting your group, press the encoder.

6. This will now let you adjust the brightness of the selected LEDs to make them look as consistently white as possible. Each LED starts with a brightness of 127, which can be set as low as 0 or as high as 255. The number of buttons selected is shown in the top left corner.
Turn the rotary encoder to increase or decrease the brightness of the colour that is currently selected, which is indicated by an asterisks to the right of the value. Pressing the encoder selects the next colour.


7. When you’ve made some adjustments and you’re satisfied with how the grid looks, turn the encoder when you see this screen:
8. Then, you’ll see two options on the screen:

9. Pressing the right stomp switch will save all the adjustments you just made to the Zoia, so the grid will continue to look great every time you boot up your ZOIA. You can also disregard any next steps displayed on the Zoia's screen since those only apply when we are building and testing Zoias. Simply remove the power cable, wait a moment, and re-apply power, and it should be good to go!
One note, if you enter calibration mode again, it will reset the brightness of all LEDs back to 127 and you’ll have to start over.
10. If you make a lot of adjustments, you might want to save the calibration values to an SD card so you can change them again without having to start over.
Create a new folder in the root directory of your SD card named led_grid_calibration
Insert the card into your ZOIA then press the middle stomp switch to select ‘save led cal to sd’
You’ll see a message on the screen telling you that the led calibration file has been saved. If you look inside the led_grid_calibration folder now, you’ll see a file named ‘cal1.bin’
Next time you want to adjust the calibration file, boot up into calibration mode again and press the middle stomp switch this time.
Regardless of whether you saved the data to the SD card, the new led calibration settings are now saved. You can unplug the ZOIA and reboot it as normal.
Note: if you want to exit calibration at any point and don’t want to save your changes, just unplug the pedal.